Your Cart is Empty

How to Grow Dahlias

Howdy!
Here's a short guide to help you get started growing dahlias

Please note - I’m not an expert in this space - I’m really not. Or at least I don't feel it - I do, however, get some pretty amazing blooms in my garden and I'm happy to share with you how I do it so you can grow beautiful blooms too!
I’ve been growing dahlias for about 4 years and have learned a few things along the way. There are a ton of great resources about growing dahlias - and I encourage you read them if this is something you’d like more depth on.
But - if you are like me and are always short on time and running behind - here’s the short, quick guide to growing dahlias (this works for me in the Midwest. It may or may not be different for you if you have different growing conditions than I do. So - use your judgment - this is not hard and fast - it’s just what I do!)

Before we start
Dahlias like sun! Plant them in a place that gets at least 6 hours of full sun.
They don’t like to be cold - so wait til after the threat of frost has passed until you plant. (For us that’s around May 15th)
Step 1 - Buy some tubers!
I like to buy tubers from American growers. For starters they're much less likely to be diseased. Here’s what your tubers will most likely look like if you buy from an American farm. These have already sprouted. When you get yours - they may not be sprouted yet. See where the whitish/pink things are coming up from the tops? Those are sprouts and will turn into your stalks.

It will be one tuber with an eye (either visible or not). It’s kind of like a potato, but the eyes come from the crown and neck. Size does not matter. I repeat - size does not matter. A lot of the farms keep the small ones for themselves and share the larger tubers with their customers.
(When you buy from big box stores and most flower catalogs you'll receive a clump of tubers together. Usually there are many broken necks in because the tubers are harvested by machine. But - usually there's at least one good neck that will give you a sprout that will turn into your stalk)

Step 2 - Dig a hole!
Depending on your soil - and how many tubers you have to plant there are many ways to dig a hole. But the basic hole for your tuber will be between 4-6 inches deep.
Step 3 - Put a handful of compost, a bit of fertilizer, a bit of bone meal and an alfalfa cube or two (I use the ones horses eat) in the bottom of the hole!
Do you have to do this - no. But I do. You’re supposed to get your soil tested, and sometimes I do, and sometimes I don’t. (We have amazing Iowa soil and are lucky. You might not be - so you might want to get your soil tested.)
Also - it’s fun to go to the feed store and when the clerk asks you about your horses you tell them about your dahlias!
Step 4 - Mix the stuff together in the bottom of the hole with a bit of soil
Your tubers don't like to be in direct contact with the fertilizer - so mix it up!
Step 5 - Make sure your hole is still 4-6 inches deep and lay a tuber flat in the bottom of the hole
You can make sure the eye is pointing up - but you don't have to. If your tuber has a long sprout already - they say to cut it down to 1" or so before planting
Step 6 - Cover your hole and tuber with soil
Just at ground level is fine
Step 7 - If your soil is damp - don’t water
If your soil is dry - water just a little bit. Don’t overdo it here or you will have a rotten tuber in no time…..
Step 8 - Put some Sluggo down
(It’s something you get to kill slugs and pests - follow the Sluggo instructions)
Step 9 - Cover with grass clippings, straw, mulch, or whatever you would like
Dahlias like to have mulch around them so the moisture stays in the ground and so their bases stay a bit cooler
Step 10 - Wait
You may or may not want to watch your sprouts come up out of the ground.
This may take a week or a month or more.
Now's a good time to go on vacation or go fishing

Step 11 - Start watering when you see growth poking up from the ground!
Dahlias like deep watering once or twice a week when they get going and are blooming (depending on your location and weather) I use drip irrigation and have noticed better dahlias when I water more - but they don’t like to be constantly wet either.
Step 12 - When your stalk is about 12 inches high - pinch it
What do I mean by this? Clip off the center of the stalk just above the third set of leaves or so. When you do this - your plant will grow bushier and will give you more blooms. Really. Don’t even think about it - just pinch it.
Note - I like to have a clippers and a bleach wipe. Every time I cut a bloom or clip anything from any dahlia I wipe my clippers off with a wipe. I do this because I don’t want to spread disease. It seems like overkill - but once you get used to it it’s not bad.
Step 13 - Stake your dahlia
Some dahlias get tall and it helps so much to stake them. You can do this many ways. A tomato cage. A bamboo stake. If you are growing lots of dahlias - metal t stakes and either netting between them or twine. If you don’t stake - your dahlia may or may not fall over……some are shorter and don’t need staking - but most do
Step 14 - Fertilize
I use fish emulsion once or twice a month and then when the blooms start - I use a Bloom Booster.

Step 15 - Watch your blooms grow!
You can sing to them. You can admire them. You can invite your friends over or keep them all to yourself. If you’re having a bad day - you can go to your garden, sit down, look up at the blooms and feel better so very quickly.

(My 10 year old took this photo. He likes to go and lay on the ground and look up at the blooms. Growing things are a great way for us to connect with our inner child)
Step 16 - After your blooms are done - cut them off
Don’t let them just sit on your plant - the more you cut your blooms the more blooms you will get! I like to cut long stems - then the next stems coming up will be longer as well
Step 17 - Keep fertilizing, watering and cutting your blooms to either take inside and enjoy or enjoy in the garden
Either way - deadhead to keep your garden blooming till frost!
Step 18 - Growing more than one dahlia?
Repeat the steps above - and plant your tubers about 18 inches apart. I plant my tubers in two rows, 18 inches apart, staggered and it works for me.

Note - If you have bug pressure like I do and want a few perfect blooms that the bugs don’t get - put them in organza bags. It seems weird - but they work.
When you see a bud forming just put the bag over the bud and sinch the strings together so bugs can’t get in there and eat your petals.
Some bugs like Japanese beetles and grasshoppers are little bastards and they love to eat your petals. Use the right size bag for your blooms! Dahlia bloom sizes vary a huge amount - I have about four sizes of organza bags for my blooms.
There you have it. You’ll be a pro in no time.
Or at least you should get some blooms that will make you happy and impress your guests!
Are growing dahlias a pain?
YES!
Are they worth it?
YES!
Can you do it?
YES!
Good luck and thank you - I hope you enjoy your gorgeous blooms 🙂
Valerie Miller

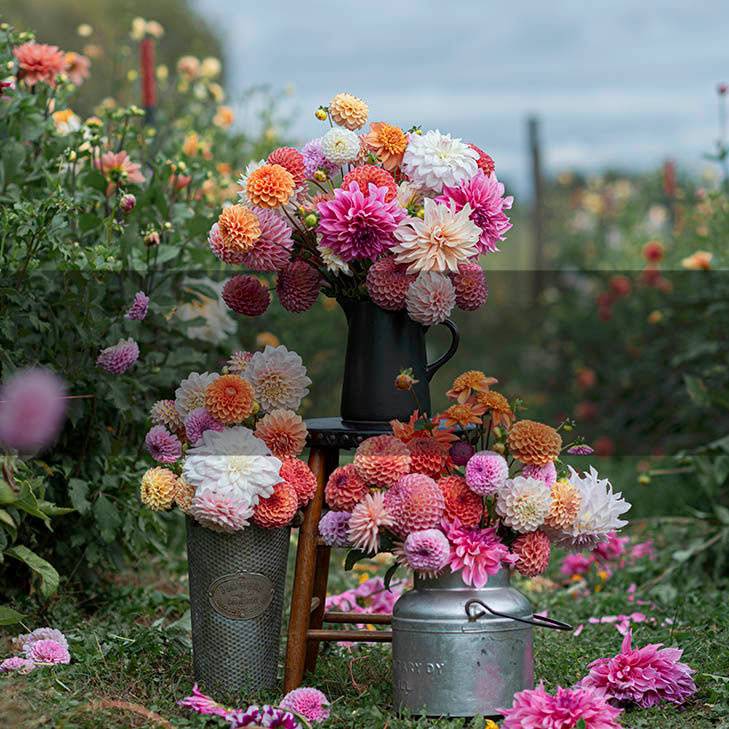
PS - Here's some pretty pictures of dahlias for you to look at while you wait for yours to bloom.....


2 Responses

Leave a comment
Comments will be approved before showing up.

Diane Oesterle
April 30, 2023
This made me smile and laugh…and maybe a little smarter. 😄